US Tourist Visa Application: A Detailed Explanation
Applying for a US tourist visa can seem like a complicated process, but with the right information, it becomes easier to understand. The tourist visa, also known as a B-2 visa, is designed for individuals who want to visit the United States for short-term leisure, tourism, or medical purposes. Here is a detailed guide on how to apply for a US tourist visa, including all the steps, requirements, and helpful tips.
What is a US Tourist Visa?

The B-2 visa is a non-immigrant visa issued to people who want to visit the US for tourism, visiting family or friends, or medical treatment. It allows travelers to stay in the US for up to 6 months, depending on the decision made by US immigration authorities at the point of entry. The B-2 visa does not allow you to work or stay permanently in the US.
Step-by-Step Process for US Tourist Visa Application

To apply for a US tourist visa, you need to follow a structured process. Here is a detailed explanation of each step:
1. Determine Eligibility
Before starting the application process, make sure you meet the following basic eligibility requirements:
- Purpose of Travel: Your purpose for traveling to the US must be tourism, visiting family or friends, or receiving medical treatment.
- Temporary Stay: You must prove that your stay in the US will be temporary and that you plan to return to your home country after your trip.
- Financial Capability: You should have enough funds to cover your expenses during your stay in the US.
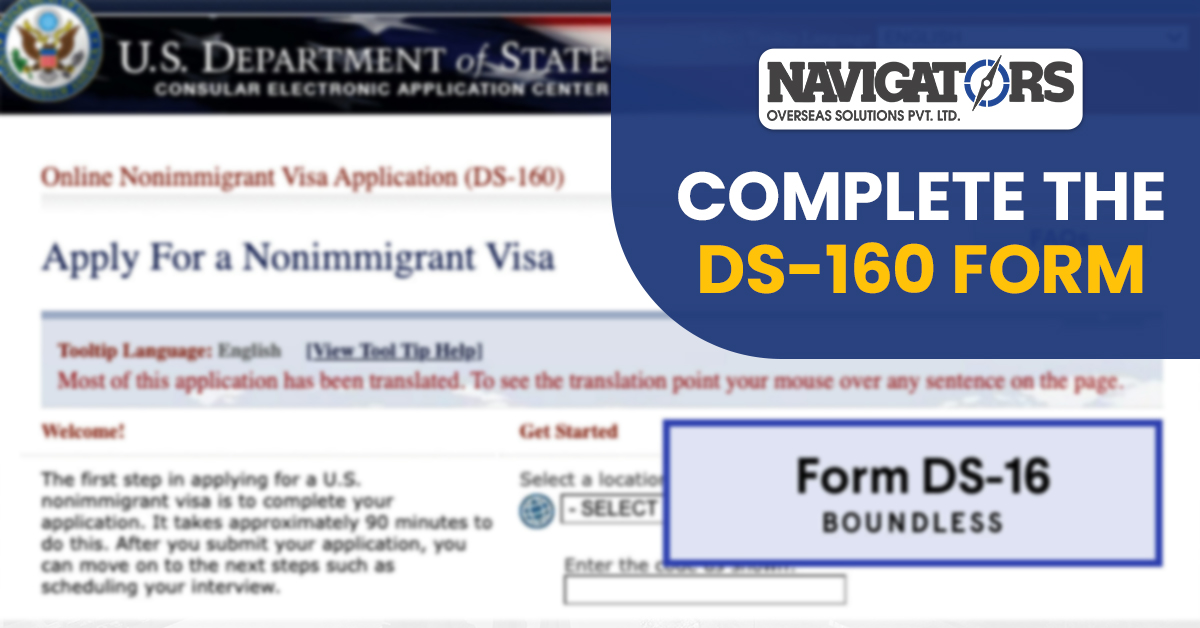
2. Complete the DS-160 Form

The first and most important step in the US tourist visa application process is completing the DS-160 form. This is an online application form that gathers personal, travel, and security-related information.
- Where to Apply: You can fill out the DS-160 form on the official US Department of State website.
- Information Required: You will need to provide your personal information (such as name, date of birth, and passport number), details of your planned trip (such as purpose and length of stay), and information about your family, education, and employment.
- Photo Requirement: You need to upload a passport-sized photograph that meets US visa requirements. The specifications for the photo are strict, so make sure it’s recent, clear, and follows the guidelines on the application website.
After submitting the form, you will receive a DS-160 confirmation page with a barcode. This page is essential for the next steps in the visa application process.
3. Pay the Visa Application Fee
After submitting the DS-160 form, you will need to pay the visa application fee, which is $160 (subject to change). This fee is non-refundable, meaning that even if your visa is denied, the payment will not be returned.
- Payment Methods: The payment can be made online or through specific banks, depending on the country where you’re applying.
- Keep the Receipt: You will receive a payment receipt after completing the transaction. This receipt is necessary when scheduling your visa interview.
4. Schedule the Visa Interview
Once the visa fee is paid, you must schedule a visa interview at the nearest US embassy or consulate. Visa interviews are a critical part of the application process, and you must attend in person.
To schedule the interview, you’ll need:
- Passport number
- DS-160 confirmation number
- Visa application fee receipt number
It is important to schedule the interview as early as possible since appointment availability may vary depending on the embassy’s workload.
5. Prepare the Required Documents
Before the interview, you must gather all the necessary documents to present to the visa officer. The required documents include:
- Valid Passport: Your passport must be valid for at least six months beyond your intended stay in the US.
- DS-160 Confirmation Page: A printed confirmation page with a barcode that shows you have submitted the DS-160 form.
- Visa Interview Appointment Confirmation: A printed confirmation of your scheduled visa interview.
- Visa Fee Receipt: Proof that you paid the visa application fee.
- Photograph: A passport-size photo that meets US visa specifications.
- Financial Documents: Bank statements, tax returns, or other proof showing you have sufficient funds to cover your trip.
- Travel Itinerary: Detailed plans of your trip, such as flight bookings, accommodation details, and return tickets.
- Evidence of Ties to Home Country: Documents such as employment letters, property ownership, or family connections that prove you plan to return to your home country after your visit.
6. Attend the Visa Interview

The visa interview is the most crucial step in the process. The interview will be conducted by a US consular officer, who will ask questions to evaluate your intent for visiting the US, your financial stability, and whether you plan to return to your home country.
Common questions you may be asked include:
- Why do you want to visit the United States?
- Who will be paying for your trip?
- What is your current job or source of income?
- Do you have any family members in the US?
- How long do you plan to stay, and what will you do in the US?
Answer all questions honestly and confidently. If everything is in order, the visa officer will inform you whether your visa is approved or denied.
7. Visa Approval and Processing
If your visa is approved, the consulate will take your passport and visa processing will begin. This usually takes a few days to a few weeks, depending on the embassy. Once your visa is ready, it will be stamped in your passport, and you will be able to travel to the US.
Key Points to Remember
- Plan Early: The entire process, from filling out the DS-160 form to receiving your visa, can take a few weeks to several months. Apply well in advance of your intended travel date.
- Be Honest: Providing accurate and truthful information on your application and during the interview is essential. Any false statements may lead to visa denial.
- Financial Proof: You must prove that you have enough funds to cover the cost of your stay in the US, including accommodation, transportation, and other expenses.
- Show Ties to Home Country: It’s important to convince the visa officer that you plan to return to your home country after your visit to the US. Bring supporting documents like employment letters, property ownership, or family obligations.
Tips for a Successful US Tourist Visa Application
- Be Clear About Your Purpose: Explain why you want to visit the US and ensure your reasons match the B-2 visa requirements (tourism, visiting family/friends, or medical treatment).
- Show Financial Stability: Bring proof that you can support yourself during your stay, such as bank statements or financial sponsorship from a family member.
- Prove Strong Ties to Your Home Country: Employment contracts, property ownership, or family responsibilities can help show that you intend to return to your home country after your trip.
- Prepare for the Interview: Practice answering common visa interview questions and stay calm during the interview.
By following these detailed steps and preparing well in advance, you can increase your chances of successfully obtaining a US tourist visa.


